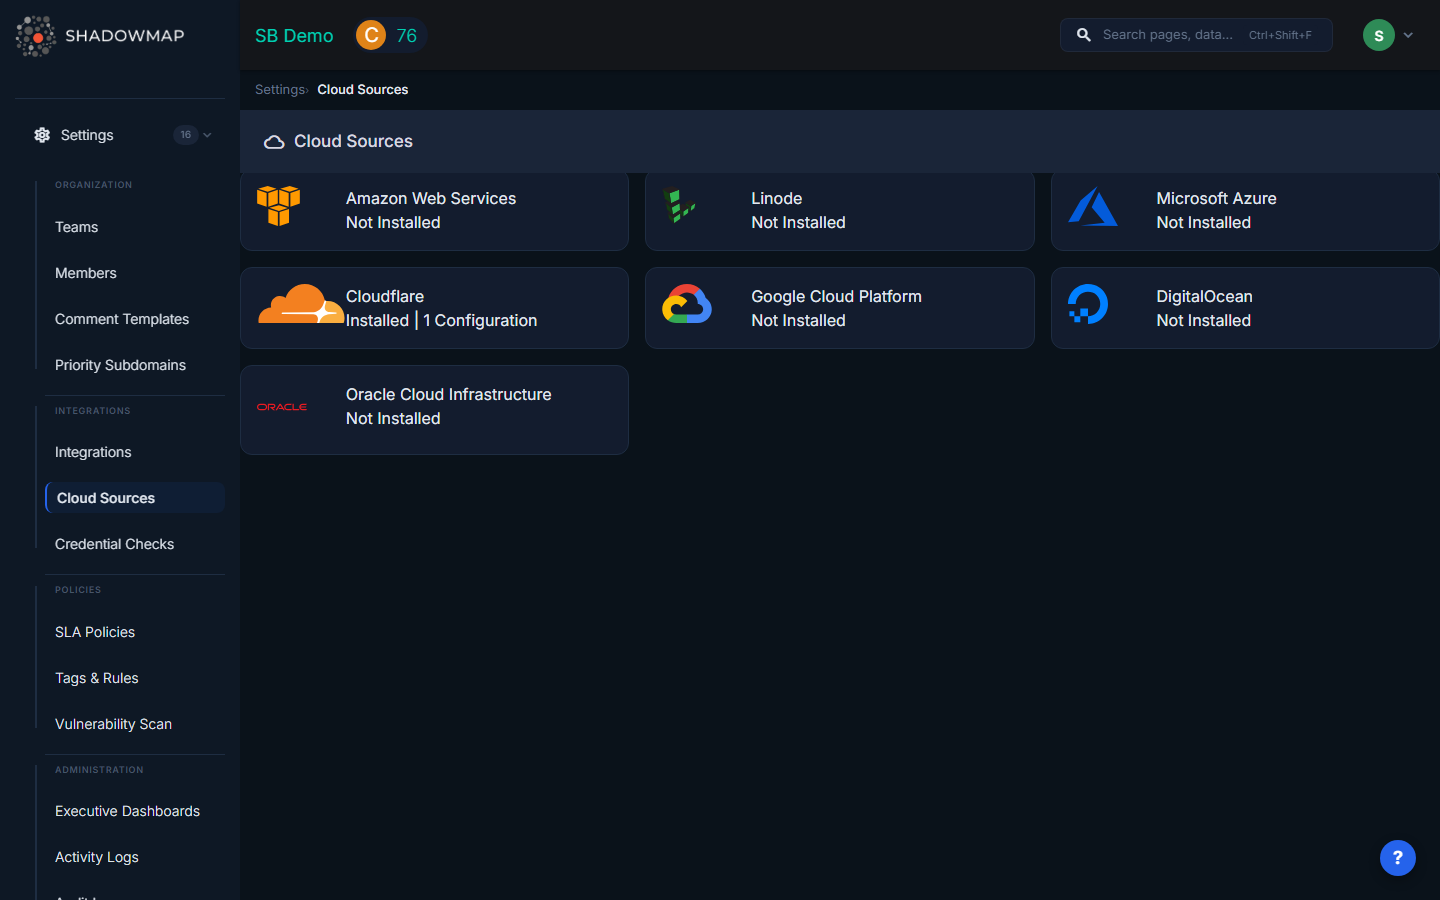
Cloud Sources
Cloud Sources connect ShadowMap to your cloud provider accounts, enabling automatic discovery and continuous monitoring of all your cloud-hosted assets. Without Cloud Sources, ShadowMap discovers assets through external scanning — with Cloud Sources, you get complete, authoritative visibility from inside your cloud environment.
Overview
Why Connect Cloud Sources?
- Complete coverage — External scanning may miss assets behind CDNs, WAFs, or private DNS. Cloud Sources import them directly.
- Faster discovery — New cloud resources appear in ShadowMap within hours of provisioning, not days.
- Accurate attribution — Assets imported from your cloud account are definitively yours, reducing false positives.
- Cloud-specific assets — S3 buckets, security groups, load balancers, and other cloud-native resources that aren't visible from external scanning.
Supported Providers
| Provider | Assets Discovered | Authentication |
|---|---|---|
| AWS | EC2 instances, Security Groups, ELB/ALB load balancers, Route53 DNS zones & records, S3 buckets, Lightsail instances | Access Key + Secret Key |
| Microsoft Azure | Virtual Machines, DNS Zones, Public IPs, Load Balancers, App Service web apps | Tenant ID + Client ID + Client Secret + Subscription ID |
| Google Cloud (GCP) | Compute instances, Cloud DNS zones & records, Static IPs | Project ID + Service Account JSON key |
| Cloudflare | Zones (domains), DNS records, Page Rules, SSL/TLS settings | API Token + Account ID |
| DigitalOcean | Droplets, Domains, Floating IPs, Load Balancers | API Token |
| Linode | Linodes, Domains, NodeBalancers | API Token |
| Oracle Cloud (OCI) | Compute instances, DNS zones & records, Load Balancers | Tenancy OCID + User OCID + API Key Fingerprint + Private Key |
Setting Up a Cloud Source
Step 1: Navigate to Cloud Sources
Go to Settings > Cloud Sources in the left sidebar. You'll see cards for each supported provider.
Step 2: Select Your Provider
Click the provider card (e.g., AWS) to expand it, then click Add Source.
Step 3: Enter Configuration
Fill in the required fields for your provider (see provider-specific guides below), then click Save.
Step 4: Verify Connection
After saving, ShadowMap will attempt to connect and scan. Check the cloud source status:
| Status | Meaning |
|---|---|
| Online | Connected successfully, all services scanned |
| Partial | Connected but some services had permission errors — review IAM permissions |
| Offline | Connection failed — check credentials |
Provider Setup Guides
AWS Setup
Required fields:
- Name — A descriptive name (e.g., "Production AWS Account")
- Region — The primary AWS region to scan (e.g.,
us-east-1) - Access Key — AWS IAM access key ID
- Secret Key — AWS IAM secret access key
Creating an IAM user for ShadowMap:
- Sign in to the AWS IAM Console
- Go to Users > Add users
- Enter a username (e.g.,
shadowmap-readonly) - Select Programmatic access for the access type
- Attach the ReadOnlyAccess managed policy (or a custom policy with read access to EC2, Route53, S3, ELB, Lightsail)
- Complete the wizard and save the Access Key ID and Secret Access Key
- Enter these credentials in ShadowMap
TIP
Use the principle of least privilege — the ShadowMap IAM user only needs read access. It does not modify any resources in your AWS account.
Azure Setup
Required fields:
- Name — A descriptive name
- Tenant ID — Your Azure AD tenant ID (UUID format)
- Client ID — Application (Service Principal) client ID
- Client Secret — Service Principal secret
- Subscription ID — Azure subscription to scan
Creating a Service Principal:
- Go to Azure Active Directory > App registrations > New registration
- Name it (e.g.,
ShadowMap Reader) and register - Note the Application (client) ID and Directory (tenant) ID
- Go to Certificates & secrets > New client secret, create and save the secret value
- Go to your Subscription > Access control (IAM) > Add role assignment
- Assign the Reader role to your new app registration
- Enter all values in ShadowMap
GCP Setup
Required fields:
- Name — A descriptive name
- Project ID — Your GCP project ID (found in the project selector)
- API Key — Service Account JSON key file contents
Creating a Service Account:
- Go to IAM & Admin > Service Accounts > Create Service Account
- Name it (e.g.,
shadowmap-reader) - Grant the Viewer role
- Create a JSON key and download it
- Paste the JSON key contents into ShadowMap
Cloudflare Setup
Required fields:
- Name — A descriptive name
- Token — Cloudflare API token
- Account ID — Your Cloudflare account ID (found in the dashboard overview)
Creating an API Token:
- Go to My Profile > API Tokens > Create Token
- Use the Read all resources template (or create a custom token with Zone:Read and DNS:Read permissions)
- Copy the token and enter it in ShadowMap
DigitalOcean / Linode Setup
Required fields:
- Name — A descriptive name
- Token — API token with read access
Generate a read-only API token from your provider's dashboard and enter it in ShadowMap.
Oracle Cloud (OCI) Setup
Required fields:
- Name — A descriptive name
- Tenancy OCID — Your tenancy OCID (format:
ocid1.tenancy.oc1..xxxxx) - User OCID — Your user OCID (format:
ocid1.user.oc1..xxxxx) - API Key Fingerprint — The fingerprint of your API signing key
- Private API Key — The PEM private key file contents
- Region — OCI region to scan
Managing Cloud Sources
Editing a Cloud Source
Click on an existing cloud source to edit its name, description, or credentials. Sensitive fields (API keys, secrets) are masked — if you don't change them, the original values are preserved.
Deleting a Cloud Source
Delete a cloud source to stop scanning that account. This removes all associated scan history and discovered assets from ShadowMap.
WARNING
Only the user who created the cloud source (or an organization admin) can edit or delete it.
Monitoring Status
ShadowMap checks cloud source health after each scan:
- If credentials fail 3 consecutive times, the status changes to Offline
- When a source goes offline, organization admins receive an email notification
- Fix the credentials to restore scanning
How Syncing Works
Cloud sources are scanned automatically on a regular schedule (typically daily). Each scan:
- Authenticates with your cloud provider using the stored credentials
- Queries all supported services in the configured region(s)
- Imports discovered assets (instances, domains, IPs, buckets, etc.)
- Updates the First Seen and Last Seen timestamps on each asset
- Assets not seen in the latest scan are marked as inactive (not deleted)
Imported assets feed into ShadowMap's broader scanning pipeline — they appear in Asset Inventory, are scanned for vulnerabilities, and generate alerts if exposures are found.
Common Questions
Q: Does ShadowMap modify anything in my cloud account?
No. ShadowMap uses read-only access. It queries your cloud APIs to discover assets but never creates, modifies, or deletes any resources.
Q: I added a cloud source but I don't see any new assets. Why?
Asset import happens on the next scan cycle (typically within 24 hours). Check the cloud source status — if it shows Partial or Offline, there may be a permissions issue. Ensure the API credentials have read access to the relevant services.
Q: Can I connect multiple accounts for the same provider?
Yes. Create a separate cloud source for each account. For example, you might have separate AWS cloud sources for production, staging, and development accounts.
Q: What regions are scanned?
For AWS and OCI, you specify a primary region. ShadowMap scans services that are region-specific (EC2, ELB) in the specified region, and global services (Route53, S3) across all regions.
Related
- Asset Inventory — Cloud-imported assets appear here
- Domains — Imported DNS zones show as domains
- Integrations — Connect notification tools (separate from cloud sources)
- Security Rating — Cloud assets feed into your security score