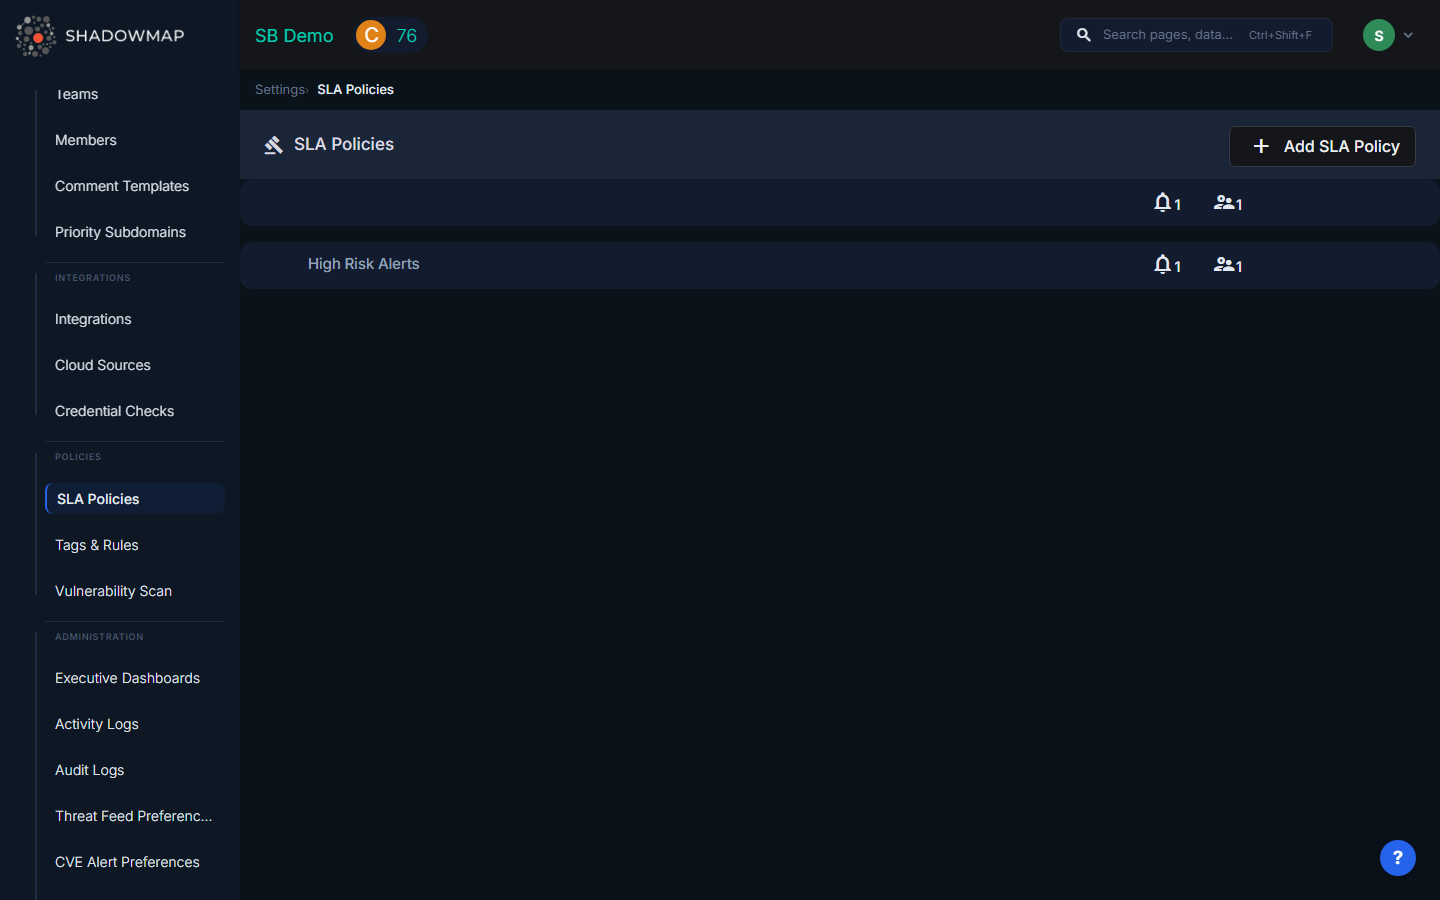
SLA Policies
SLA Policies define automated response workflows for security findings. When ShadowMap detects a finding matching your policy criteria, it triggers immediate notifications, tracks response times, and escalates through defined channels if the finding isn't addressed within your targets.
Overview
An SLA Policy consists of:
- What to monitor — Which finding types and filter criteria to match
- Immediate alerts — Who gets notified when a matching finding appears
- Escalation levels — What happens if the finding isn't resolved in time
Creating an SLA Policy
Step 1: Basic Information
- Policy Name (required) — A descriptive name (e.g., "Critical Vulnerability Response")
- Description (optional) — Additional context about the policy's purpose
Step 2: Select Finding Types and Filters
Choose which types of findings this policy monitors. You can select multiple types and apply specific filters to each.
Available finding types:
| Category | Types |
|---|---|
| Threats | Exposures, Alerts |
| Dark Web | Stealer Logs, Data Breaches, Discussions, Telegram Conversations, Credit Card Leaks, Compromised Users, Compromised Computers |
| Data Exposure | Code Repositories, Leaked APIs, Leaked Files, S3 Buckets, Docker Containers, Elasticsearch Instances, Executive Leaks |
| Brand Protection | Phishing & Impersonations, Domain Squatting, Social Media |
| Attack Surface | Open Ports, SSL Certificates, IP Reputation, SaaS Applications |
| Other | Vendor Risk Management |
For each selected type, you can apply filters (e.g., "only critical severity", "only specific hosts", "only new findings") to narrow what triggers the policy.
Step 3: Configure Immediate Alerts
When a finding matches your policy, ShadowMap can immediately notify your team through one or more channels:
| Channel | Description |
|---|---|
| Send to specific users or teams | |
| Slack | Post to a configured Slack channel |
| PagerDuty | Create a PagerDuty incident |
| SIEM (Syslog) | Send CEF event to your SIEM |
| Jira Service Management | Create a Jira incident |
| Jira Service Desk | Create a service desk ticket |
| ServiceNow | Create a ServiceNow record |
| Microsoft Teams | Post to a Teams channel |
| SMS | Send SMS to team members |
| Webhook | POST to a custom endpoint |
| Freshservice | Create a Freshservice ticket |
| Splunk HEC | Send to Splunk HTTP Event Collector |
You can add multiple notification actions — for example, email the security team AND post to Slack AND create a Jira ticket, all from the same policy.
TIP
You must configure the integration first under Settings > Integrations before it appears as an option here.
Step 4: Email Delivery Mode
Choose how email alerts are grouped:
- Summary (default) — Groups all matching findings into one email per policy. Best for reducing inbox noise.
- Individual Alerts — Sends a separate email for each finding. Useful when each email maps to a ticket in your ITSM system.
Step 5: Enable Escalation (Optional)
Toggle Enable SLA Violations to activate time-based escalation. When enabled, you can define up to 4 escalation levels.
Step 6: Configure Escalation Levels
Each escalation level defines:
- Time Threshold — How long after the finding was detected before this level triggers (e.g., 2 days, 1 month)
- Notification Actions — Who gets notified at this level (same channel options as immediate alerts)
Example escalation chain:
| Level | Trigger | Action |
|---|---|---|
| Level 1 | 4 hours after detection | Email → Security Team Lead |
| Level 2 | 2 days after detection | Slack → #security-escalations + PagerDuty |
| Level 3 | 7 days after detection | Email → CISO + Jira ticket |
| Level 4 | 30 days after detection | Email → CTO + SMS → Security Director |
Escalation only triggers if the finding is still open. If the finding is resolved before the threshold, the escalation is cancelled.
How Violation Tracking Works
Once a policy is active, ShadowMap continuously checks findings against your criteria:
- Finding appears → Matches policy criteria → Immediate alert sent
- Finding remains open → Time passes → Escalation Level 1 triggers
- Still open → More time passes → Level 2, 3, 4 trigger progressively
- Finding resolved → Violation closed → Close notification sent
Alert Coalescing
To prevent notification storms (e.g., a scan discovers 100 new findings at once), ShadowMap batches rapid-fire violations:
- If more than 10 violations for the same policy trigger within 5 minutes, subsequent ones are batched into a single digest notification
- The digest is sent on the next scan cycle
Managing Policies
Enabling / Disabling
Toggle a policy's status to temporarily disable it without deleting the configuration. Disabled policies stop monitoring but retain their settings.
Viewing Violations
Each policy shows a count of Open and Closed violations. Click through to see which specific findings are in violation.
Violations also appear in the SLA Violations dashboard view.
Common Questions
Q: What happens if I change a policy's criteria?
Updated criteria apply to new findings going forward. Existing violations are not retroactively recalculated.
Q: Can multiple policies match the same finding?
Yes. A single finding can match multiple SLA policies. Each policy tracks its own violation independently, and each sends its own notifications.
Q: How do I test a policy before going live?
Create the policy with your desired criteria and immediate alerts, but leave escalation disabled. Monitor the immediate notifications to verify the criteria match correctly, then enable escalation.
Q: What counts as "resolved" for a finding?
Each finding type has its own resolution logic — for Alerts, it's when the status is Closed. For Stealer Logs, it's when the status is no longer "online." For Phishing URLs, it's when the site is taken offline. See the finding type's documentation for specifics.
Related
- SLA Violations — View all findings currently in SLA violation
- Alerts — The most common finding type monitored by SLA policies
- Integrations — Configure the notification channels used by SLA policies
- Teams — Organize your staff for SLA assignment and notification routing